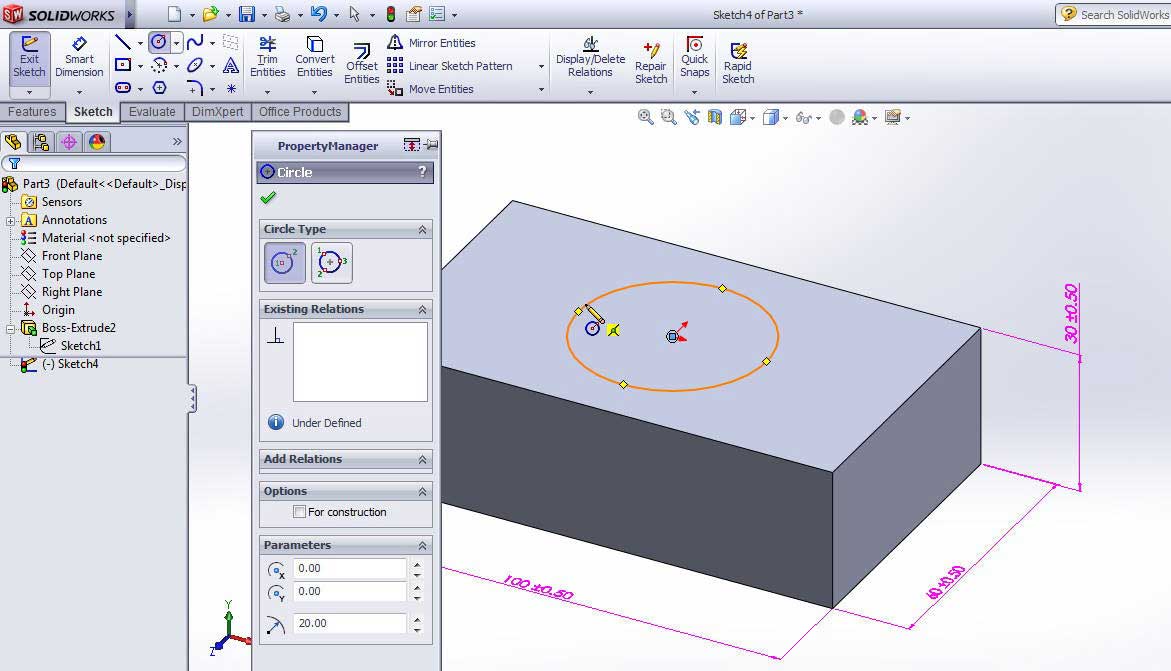
In this using SOLIDWORKS, you’ll learn how to find the coordinates of the center point of a face. When modeling a part or assembly, finding the center point of a specific face may be necessary to some aspect of your design. Instead of calculating the center point manually, let SOLIDWORKS determine the location of point for you! By using the Measure tool in tandem with reference geometry, you can quickly find the coordinates of a center point in a variety of situations, even if the face you are working with is asymmetrical or irregularly shaped. 
Besides being a very user-friendly design tool, SOLIDWORKS also has lots of tools that let you analyze your designs. One very useful tool is the measure tool. The measure tool can be used to measure the size, area, distance, angle, radius, perimeter, and many other values of just about any aspect of your model. You can find the measure tool on the evaluate toolbar of the command manager, or from the tools drop down menu. When I do, a window appears, and the measure tool asks me to make selections. This is the nicest part of the measure tool. You just select the items you’re interested in, and the measure tool will display all of the values it can come up, and the measure tool will even tell you when your combination of selections is invalid, or no meaningful data can be extracted from the combination of selections you’ve made.
To get more updates on SOLIDWORKS Follow Us on LinkedIn: Click Here
For more details Like Us on Facebook: Click Here
For more videos SUBSCRIBE to our channel: Click Here
For more information: Click Here
