The problem capture allows you to generate a zip file which includes information that is useful to troubleshoot a problem.
SOLIDWORKS RX automatically collects some files, analyses your system, suggest possible solutions and allows the user to capture data, video, comments which can help technical support personnel diagnose problem.
So now let us see how to capture a video in SOLIDWORKS RX. There are few steps to create a SOLIDWORKS RX capture.
- Go to Start > All Programs > SOLIDWORKS > SOLIDWORKS Tools > SOLIDWROKS Rx.
- Once the SOLIDWORKS RX is open, at the top of the SOLIDWORKS RX user interface you can find several tabs that allows you to perform different functions.
- Here the problem capture option can be selected in 2 ways, one is from the home tab and another way is from the SOLIDWORKS RX user interface, which you can see all the functional tabs here.
- Click on the problem capture tab, when you first click on the problem capture tab, SOLIDWORKS RX automatically begins to gather several files that will be included in the RX file.
- And notice that there are 2 options here: Record a video steps in SOLIDWORKS andRecord extended logging data.
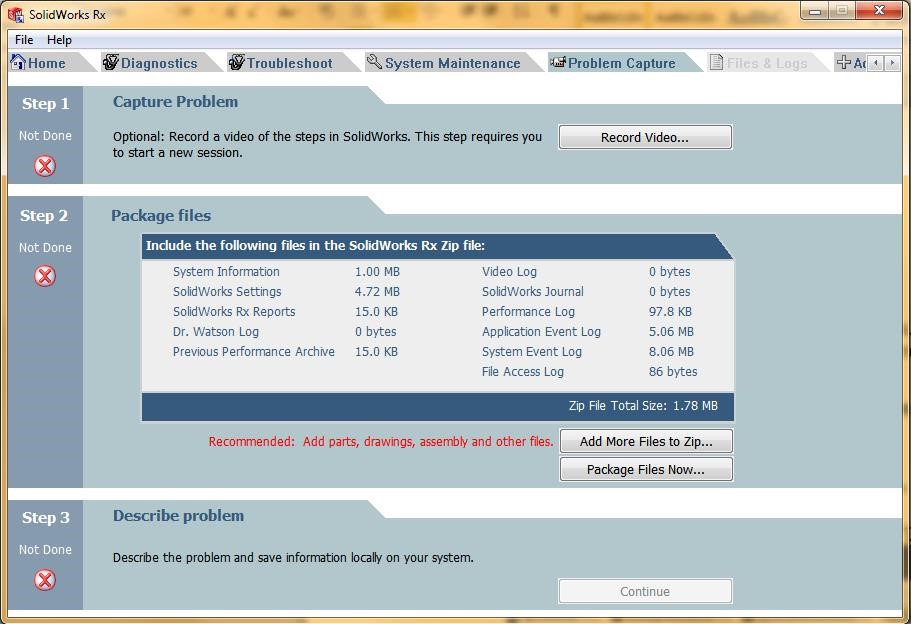
The option for extended logging data is off by default because this produces a large file that is necessary only for specific situations.
The option for record video is more common option.
- Click on Record video or start capture, this opens up a new session of a SOLIDWORKS and will record all of the steps you take in SOLIDWORKS to demonstrate the workflow which leads to the issue.
- If a session of SOLIDWORKS is already running, a dialogue box will appear asking how you would like to proceed with the video recording.
In this case click Restart SOLIDWORKS Now.
- Again, a new dialogue box becomes available, click start recording.
- After completing the recording, a dialogue box will appear, click Finish the Recording. Once you end up the recording, SOLIDWORKS will terminate to save the information that the RX captured.
- [Note: The maximum video length is 5 minutes, if the recording is too long, only the last 5 minutes of the video will be included, if SOLIDWORKS crashes the recording will automatically finish.]
- And again, you can see one more dialogue box, click OK to save.
- Once the video is completed, Capture Problem step shows ‘Done’ as you can see here, and a video Log entry appears in the list of files to include.
These are the following steps to capture a video in SOLIDWORKS RX.
To get more updates on SOLIDWORKS Follow Us on LinkedIn: Click Here
For more details Like Us on Facebook: Click Here
For videos SUBSCRIBE to our channel: Click Here
Get A Quote Today: Click Here