SOLIDWORKS Inspection is a simple and intuitive application that can reduce the time needed to create inspection documentation by up to 90 percent, and helps to virtually eliminate input errors, thus improving quality and reducing time-to-market.
Step-1:
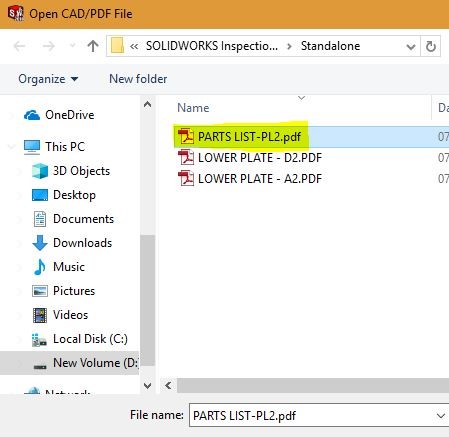
Select Add CAD/PDF Files (To add BOM PDF) as shown in the below Image

Step-2:
Select the BOM PDF File (Part List)
Step-3
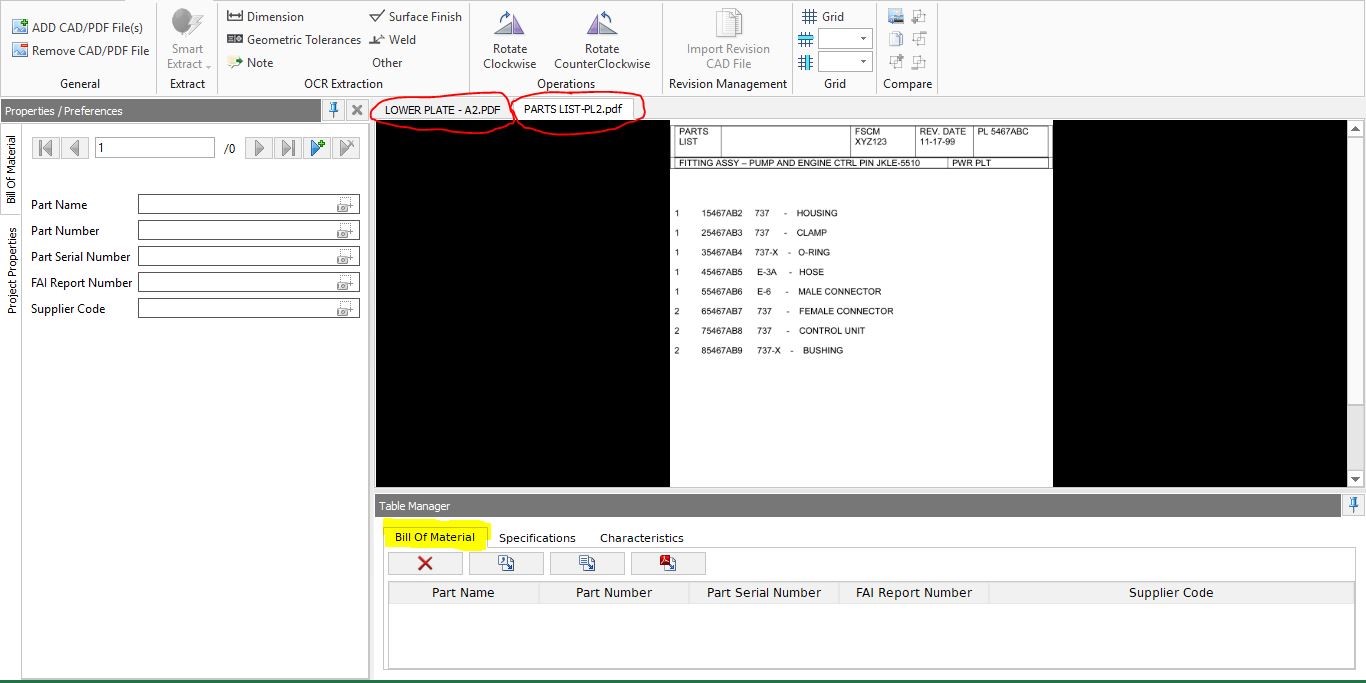
Now you can see Part List is added to the existing PDF as shown in the below image.
Step-4
Select the Bill of Material in the Task Manager as shown in the above Image.
Step-5
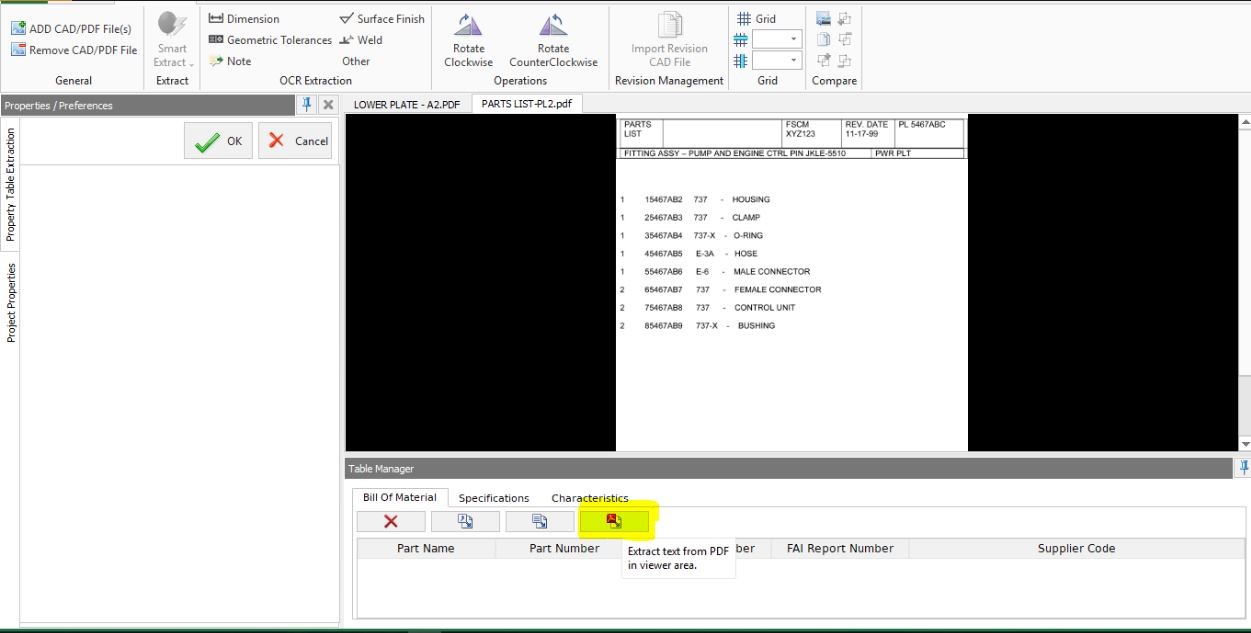
In the Bill of Material select the Extract text from PDF as shown in below image.
Step-6
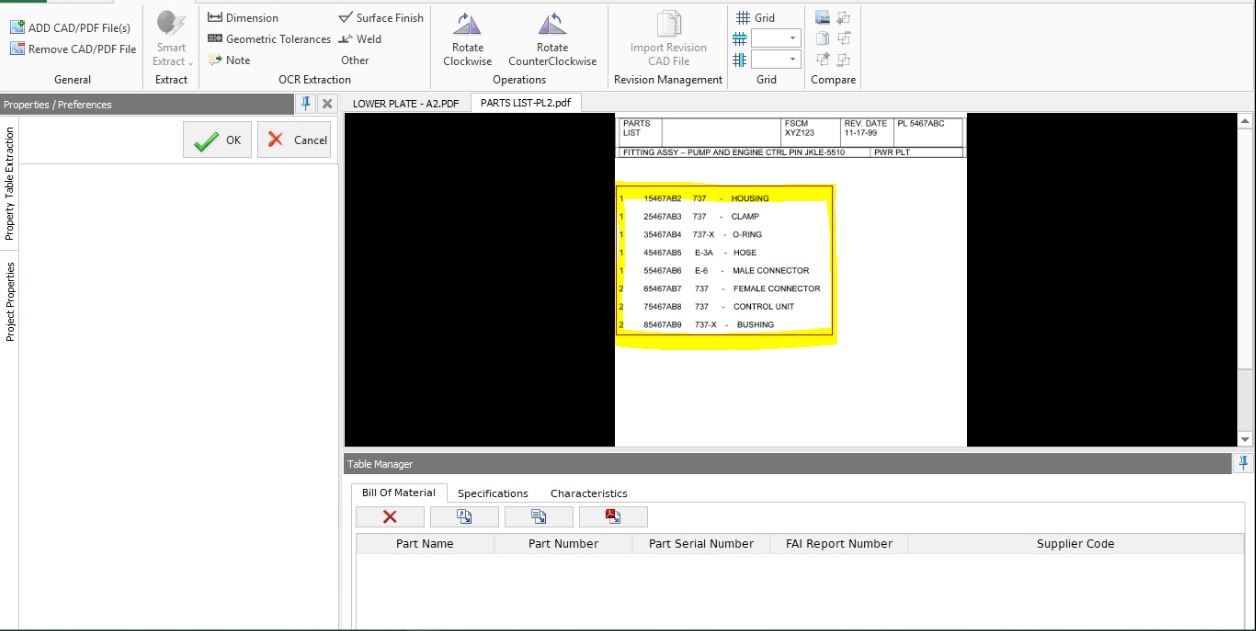
Now extract the Part list by dragging the mouse from top to bottom as shown in the below Image.
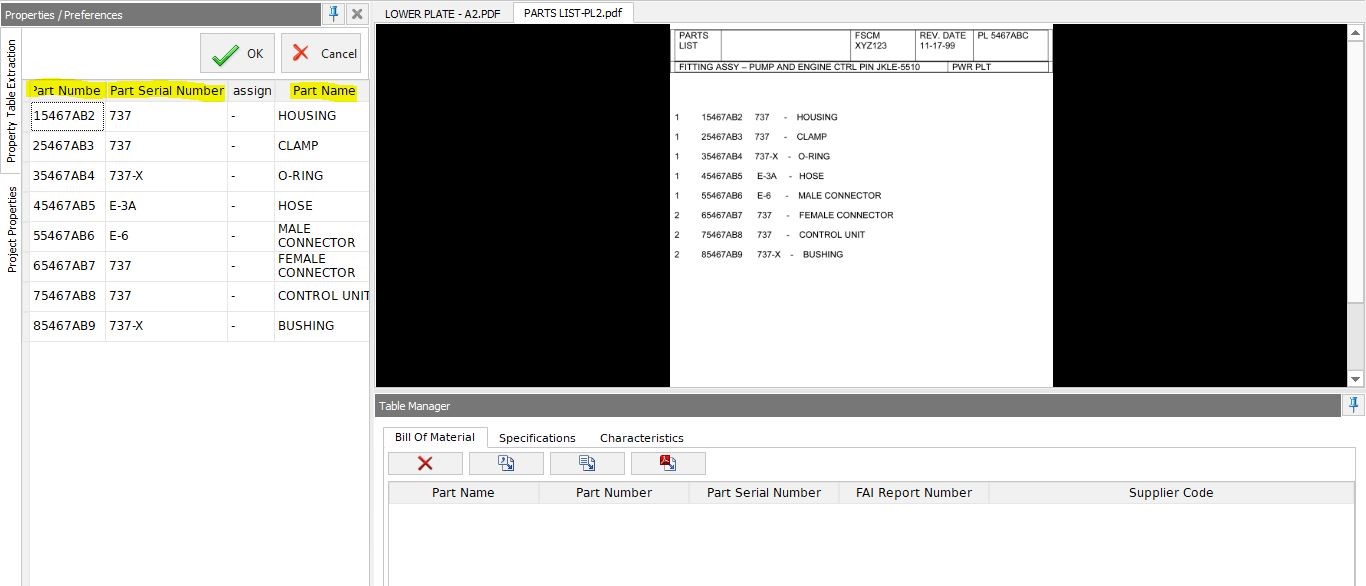
Step-7
In the Properties Tab right-click on unassigned tab select the suitable name for that Tab, same way repeat process for other unassigned tabs as shown in below image & Click OK.
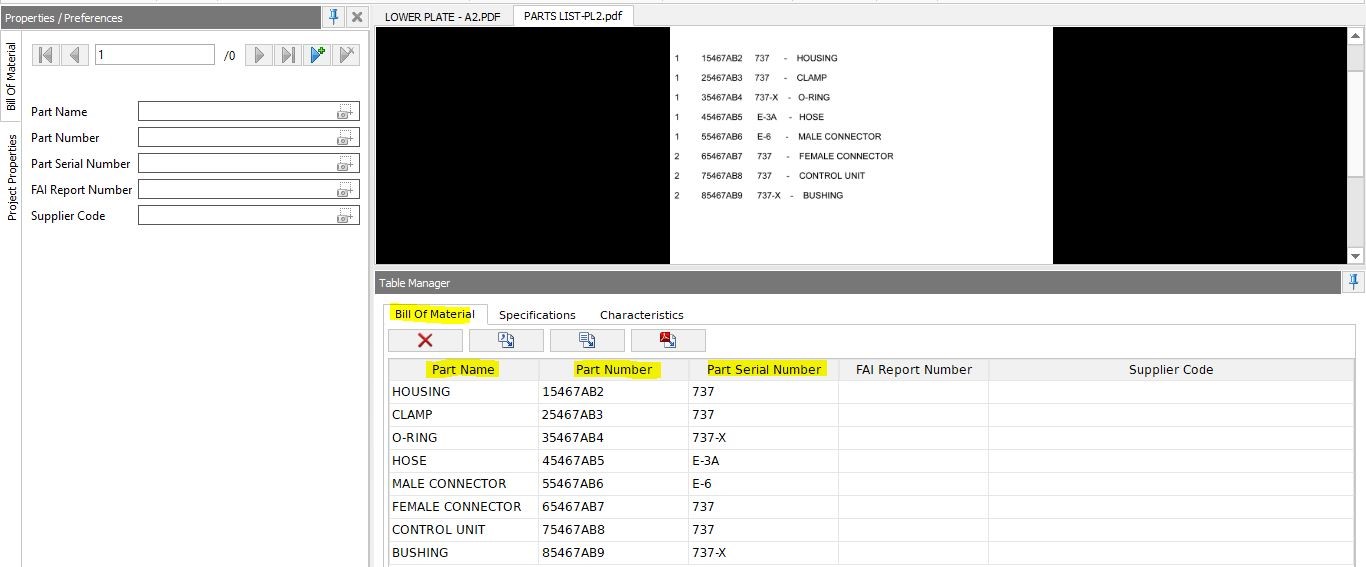
Step-8
In the Table Manager, you can absorb Bill of Materials, all the part list is added as shown in the below image.
To get more updates on SOLIDWORKS Follow Us on LinkedIn: Click Here
For more details Like Us on Facebook: Click Here
SUBSCRIBE to our channel for more videos: Click Here
For more information: Click Here